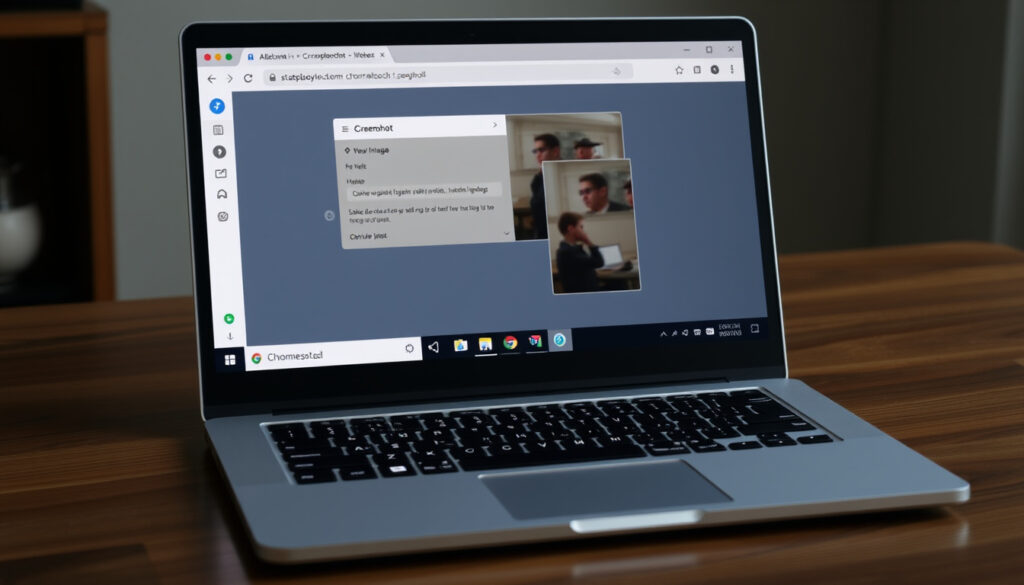
How to Screenshot on Chromebook – Complete Guide for 2025
Taking a screenshot on a Chromebook is straightforward, but the keyboard layout can cause confusion. Unlike Windows or Mac machines, Chromebooks use a dedicated key for this task. Knowing which one to press is the first step. Standard methods include full-screen captures, partial selections, and addressing common issues like missing keys or brand-specific variations.
The core function relies on the Show windows key, often located where the F5 key would be on a traditional keyboard. Google’s official Chromebook help documentation confirms that pressing Ctrl + Show windows captures the entire screen instantly. For users who need to capture only a portion of their display, the combination Shift + Ctrl + Show windows opens a dedicated toolbar for selection.
All screenshots are automatically saved as PNG files in the Downloads folder, accessible through the Files app. The built-in Gallery app then allows for basic editing, including cropping and annotation, without requiring any third-party software.
How to Take a Full-Screen Screenshot on a Chromebook
The most direct method for capturing everything on your screen is a simple two-key shortcut. This works across all Chrome OS devices, regardless of manufacturer, as long as the operating system is up to date. According to Google’s Chromebook help, the standard shortcut is Ctrl + Show windows.
The Show windows key is typically located on the top row of the keyboard, above the number row. It often features an icon resembling a rectangle with two vertical lines to its right, or it may simply be labeled with the F5 function. If you are using an external keyboard, ASUS notes that you may need to use the Windows key or Command key instead.
4 Quick Methods to Screenshot on a Chromebook
Full-Screen (Ctrl + Show Windows)
Capture entire screen instantly using the Show Windows key (often F5).
Partial Screen (Shift + Ctrl + Show Windows)
Select a custom area using the Screen Capture toolbar.
No Windows Key? Use the On-Screen Keyboard
Alternative method if your Chromebook lacks a dedicated key.
Edit & Crop (Gallery App)
Open screenshot in the built-in Gallery app to crop and annotate.
Key Insights for Chromebook Screenshots
- The most reliable method is using Ctrl + Show Windows (F5 equivalent) for full-screen captures.
- Partial screenshots via Shift + Ctrl + Show Windows give you precise control over the area.
- If your Chromebook lacks the Windows key or F5, enable the on-screen keyboard or use the Launcher + Shift + Ctrl shortcut.
- All Chromebooks (HP, Lenovo, Dell, Acer) use the same keyboard shortcuts; branding only affects physical key placement.
- Screenshots save automatically to the Downloads folder; you can crop and edit in the Gallery app.
Screenshot Methods on Chromebook: Quick Reference
| Action | Shortcut / Method | Result |
|---|---|---|
| Full-screen screenshot | Ctrl + Show Windows (or F5) | Captures entire screen, saves as PNG |
| Partial screenshot | Shift + Ctrl + Show Windows | Opens Screen Capture toolbar, select area |
| Screen recording | Shift + Ctrl + Show Windows → click Screen record | Records video of full screen or selected area |
| No Windows key? | Enable on-screen keyboard or use Launcher + Shift + Ctrl | Alternative key combination |
| Crop screenshot | Open in Gallery (Files app) → click Edit → Crop | Resize and save |
How to Take a Partial Screenshot on a Chromebook
Capturing just a portion of your screen is often more useful than taking a full screenshot. The process involves opening a toolbar that gives you several capture options. As documented by Google, the shortcut Shift + Ctrl + Show windows launches this toolbar.
Once the toolbar appears at the bottom of your screen, you can select the partial screenshot icon. Your cursor will then turn into a crosshair, allowing you to click and drag to define the exact area you want to capture. Releasing the mouse button takes the screenshot immediately.
The same Screen Capture toolbar also includes a screen recording feature. After pressing Shift + Ctrl + Show windows, you can choose between recording the full screen, a partial area, or a specific window. Options for microphone and camera input are available before starting the recording.
How to Screenshot on a Chromebook Without the Windows Key or F5
A common point of confusion arises when users cannot find the “Windows key” or an F5 key on their Chromebook. This is because Chromebooks use a different keyboard layout. The key used for screenshots is the Show windows key, which is standard on virtually all Chrome OS devices.
If this key is mislabeled or missing, the most reliable workaround is to use the on-screen Screen capture tool. This can be accessed from the Quick Settings panel (the area near the clock) or by searching for “Screen capture” in the Launcher. ASUS recommends checking the device’s keyboard shortcut view in Settings > Device > Keyboard to identify the correct key mapping for your specific model.
Some community reports indicate that pressing the screenshot shortcut sometimes reloads a page instead. This suggests a potential shortcut conflict or a remapped key, rather than a failure of the screenshot feature itself. Verifying accessibility and keyboard settings often resolves this issue.
How to Screenshot on HP, Lenovo, Dell, and Acer Chromebooks
Despite brand-specific keyboard designs, the fundamental screenshot shortcuts remain identical across all major Chromebook manufacturers. The key difference is purely cosmetic: the position and icon of the Show windows key may vary slightly.
For example, HP’s official support documentation confirms the same Ctrl + Show windows shortcut for full-screen captures. Lenovo’s glossary page reiterates this method for its Chromebooks. Dell and Acer models follow the same rule. The only practical variation is that some school or brand-specific Chromebooks may label keys differently, making the shortcut less obvious.
On some devices, the Show windows key might be labeled with just an icon or a different symbol. If you are unsure, open the on-screen keyboard viewer by pressing Ctrl + Alt + ? or navigate to Settings > Device > Keyboard > View keyboard shortcuts to see the exact mapping for your specific model.
How to Crop a Screenshot on a Chromebook
After taking a screenshot, you may want to trim the edges or focus on a specific detail. Chrome OS includes a built-in tool for this task. The screenshot is automatically saved to the Downloads folder, which you can browse using the Files app.
Open the screenshot file. It will typically launch in the Gallery app. From there, click the Edit button (which looks like a pencil or slider icon) and select the Crop option. You can then drag the corners of the selection box to define the new boundaries. Once you are satisfied, click Save to overwrite the original or Save as copy to keep both versions.
Evolution of Chromebook Screenshot Features
- : Original Chromebooks launched with simple Ctrl + F5 screenshots.
- : Chrome OS introduces partial screenshot via Shift + Ctrl + F5.
- : Screen recording added as beta feature in Chrome OS 71.
- : Show Windows key replaces F5 on many keyboards; shortcuts updated.
- : Built-in Screen Capture toolbar added for unified screenshot and recording.
- : Current stable methods as described; no major changes, but Google continues to refine Gallery app editing.
Certainty vs. Uncertainty: Chromebook Screenshot Methods
| Established Information | Information That Remains Unclear |
|---|---|
| The core shortcut (Ctrl + Show Windows) works on all Chromebooks running Chrome OS 2025. | Key labels vary by manufacturer (e.g., HP may label ‘Show Windows’ differently). |
| If your Chromebook has a ‘Show Windows’ key (F5 icon), you can use the standard shortcuts. | Some older Chromebooks may not have a dedicated ‘Show Windows’ key; use the on-screen keyboard as a workaround. |
| Screenshots are saved as PNG files in the Downloads folder. | The on-screen keyboard shortcut (Launcher + Shift + Ctrl) is confirmed but may not appear in official documentation. |
| Screen recording may be limited on devices with less RAM or older processors. |
Why the Keyboard Shortcut Approach Works Best
Chromebook screenshots rely on Chrome OS’s unified keyboard mapping. The Show windows key (commonly F5) is present on nearly all Chromebooks, making Ctrl + Show windows the standard. Brand differences (HP, Lenovo, Dell, Acer) are cosmetic – the key position and icon may vary, but function remains identical. For users without a Windows key, the issue is usually a mismatched expectation: Chromebooks don’t use a ‘Windows key’; the equivalent is ‘Show windows’. Understanding this helps demystify troubleshooting.
Trusted Sources and Expert Citations
Google Chromebook Help states: “Press Ctrl + Show Windows to take a full-screen screenshot.” This is available via the official Google Chromebook Help – Take a Screenshot page.
“To launch the Screen Capture toolbar, you must press Shift+Ctrl+Show Windows.”
— CNET (June 2025)
The reputable tech publication CNET – How to Take a Screenshot on a Chromebook provides an authoritative consumer-focused guide.
“Take a screenshot on a Chromebook by pressing Ctrl + Show Windows for full-screen or Shift + Ctrl + Show Windows for partial.”
— HP Tech Takes (March 2025)
HP’s official support site offers HP Support – Chromebook Screenshot Guide as a branded reference. An additional alternative official reference is available from Lenovo Chromebook Screenshot Glossary.
What’s Next for Chromebook Screenshots?
Google is increasingly integrating AI-powered editing tools into the Gallery app, such as automatic crop suggestions and object removal. Future Chrome OS updates may add cloud-based screenshot sharing and deeper screen recording controls. Users can track these developments through the Chrome OS Release Notes. For now, the standard keyboard shortcuts remain the fastest and most reliable method for capturing your screen on any Chromebook. If you encounter issues, the How to take screenshots on a Chromebook using keyboard shortcuts page is a valuable starting point, and the Troubleshooting missing or non-functional screenshot keys on Chromebooks guide can help with specific hardware problems.
Frequently Asked Questions
Where do screenshots save on a Chromebook?
All screenshots are saved as PNG files in the Downloads folder. You can access them via the Files app.
Can I change the screenshot file format on a Chromebook?
No, Chrome OS only saves screenshots as PNG. You can convert them later using third-party tools.
How do I record my screen on a Chromebook?
Press Shift + Ctrl + Show Windows to open the Screen Capture toolbar, then select ‘Record full screen’ or ‘Record partial screen’.
Does the screenshot method work on Chromebook tablets?
Yes, you can use the same keyboard shortcuts if an external keyboard is connected. On tablet mode, press Power + Volume Down simultaneously.
Why is my ‘Show Windows’ key not working?
Ensure your Chromebook is updated to the latest Chrome OS version. Try restarting or using the on-screen keyboard as a workaround.
Can I take a screenshot of just one window?
Yes, press Shift + Ctrl + Show Windows to open the toolbar, then select the window capture icon. Click on the window you want to capture.
How do I take a screenshot with a stylus on a Chromebook?
On supported Chromebooks, you can press the stylus button or tap the stylus icon in the Quick Settings panel and select ‘Take screenshot’.
Are there any third-party apps for Chromebook screenshots?
Yes, several extension-based tools exist, but the built-in tools are usually sufficient and more reliable. Extensions may offer additional cloud sharing features.
More related posts
 Lennie James – Biography, Movies, TV Shows & Personal Life
 Chinese New Year Animals – 12 Zodiac Signs Guide
 Michelle Williams – How to Tell the Actress and Singer Apart
 Power Failure London Underground – Maida Vale Fire Disrupts Services
 UK Pensioners Free TV Licence – Updated 2025 Rules and How to Apply
 Band 5 NHS Pay 2024 – Full Salary Scales & Latest Updates
 Aqua Park Near Me – Best UK Indoor and Outdoor Parks
 What Colour Is This – Identify Any Color From an Image